Learning how to file nails is less about speed than control. Start with a clean, dry free edge, select a file that removes material without forcing extra pressure, and decide on the finished shape before the first stroke. Work in deliberate passes, inspect often, and stop as soon as the outline is even and the edge feels smooth. That simple sequence helps reduce unnecessary abrasion when natural nails already feel thin, rough, or prone to peeling.
What Should You Check Before Filing Natural Nails?
Is the Nail Edge Dry, Clean, and Stable Enough to File?
Before deciding how to file nails, remove anything that hides the edge and look for splits, lifted layers, or a snag that needs limited correction. A dry nail is easier to inspect and less flexible than a nail softened by water. Support the fingertip so the edge does not bend under the file. If a crack extends into attached nail tissue, or the area is painful, discolored, or inflamed, stop cosmetic filing and seek qualified advice instead of trying to grind the problem away.
Which Nail File Material and Grit Match the Nail’s Condition?
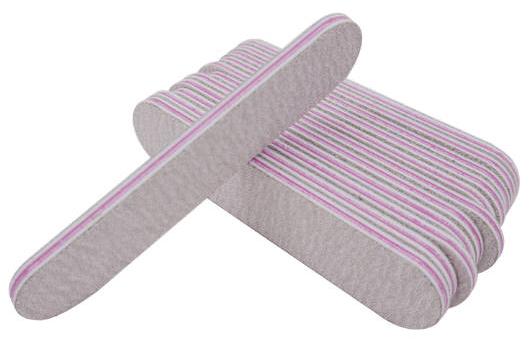
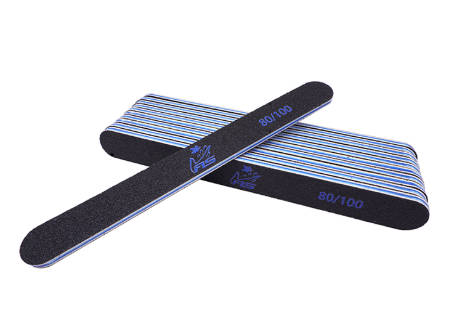
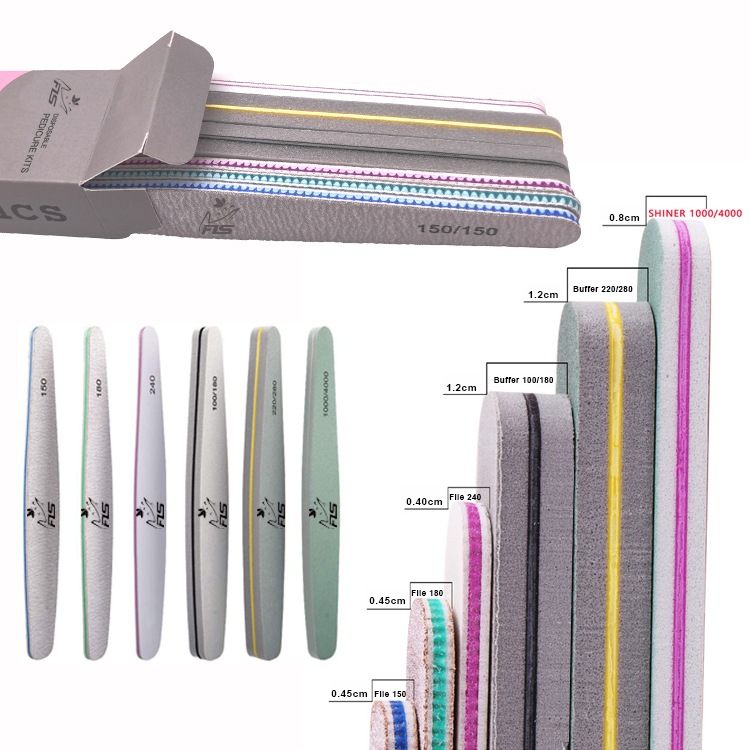
Construction changes stiffness, cushioning, cleaning options, and feedback. Bamboo nail files use a wood-based core, while an emery nail file normally combines an abrasive surface with a board. Glass, metal, sandpaper, polishing, and sponge formats behave differently, so no single nail file alternative is best for every edge.
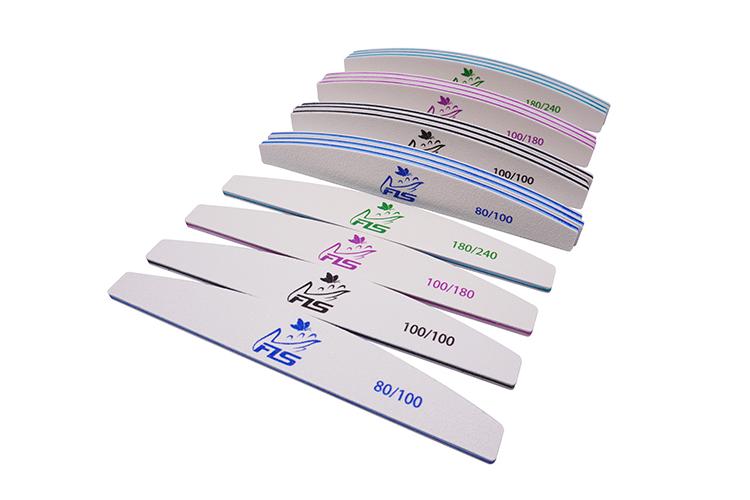
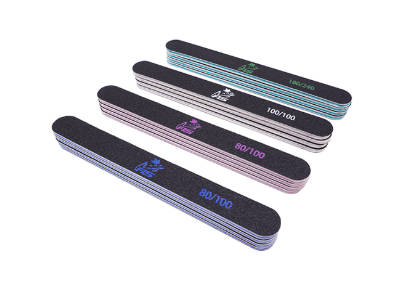
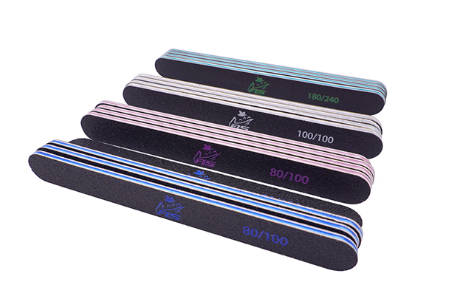
The nail file numbers indicate relative coarseness: lower numbers are coarser, while higher numbers are finer. For a natural free edge, choose a surface fine enough to work without tearing or demanding heavy pressure. Test a light stroke first. If the file bites too aggressively, move to a finer option rather than trying to compensate with a faster motion.
How Should You File Nails from the First Stroke to the Final Check?
Step 1: Stabilize the Finger and Plan the Finished Shape
A repeatable method for how to file nails begins with positioning. Hold the finger where the free edge remains visible and supported. Choose a round, oval, square, or softly squared outline that the existing length can accommodate. Mentally mark the sidewalls, center, and final length. This prevents one side from being shortened repeatedly while you chase symmetry.
Step 2: Which Direction and Pressure Keep Each Stroke Controlled?
Place the working surface against the free edge rather than the top of the nail plate. Use light, deliberate strokes and keep the file angle consistent. The useful distinction is not a rigid rule about one direction versus two; it is controlled contact versus rapid sawing. Do not scrub one weak point. Move across the planned area, release pressure at the end of each pass, and check the outline before removing more material.
Step 3: How Do You Refine the Edge Without Overfiling?
Once the basic shape is established, switch to a finer finishing surface if the edge still feels rough. Use fewer passes than you used for shaping. View the nail from above and from the tip, then lightly touch the edge to locate snags. Knowing how to file nails also means knowing when to stop: an even outline and smooth edge are the endpoint. Extra passes can thin a section that was already correct.
Why Do Nails Split or Peel Even When the Shape Looks Right?
How Do Coarse Grit and Heavy Pressure Weaken the Free Edge?
A coarse surface removes material quickly. Combined with strong pressure, that speed makes it harder to stop at the intended line. The edge may look shaped from above while remaining rough or uneven underneath. If you must press hard to make progress, reassess the grit and the condition of the abrasive. A suitable surface should do the cutting while the hand guides it.
When Do Repeated Passes, Clogging, or Existing Peeling Make Damage Worse?
Repeatedly crossing the same point creates more contact than the rest of the edge receives. A clogged or worn surface can make the user compensate with pressure, while an already peeling edge can catch against the abrasive. Pause, brush away visible debris where the construction allows, and inspect the file. The goal is not to erase every visible layer. Correct only the snag that can be smoothed without chasing the peel farther into the nail.
How Do You Keep Filing Results Consistent Between Sessions?
Which Nail Files Can Be Washed, Dried, and Stored Safely?
Washability belongs to a specific construction, not to every file that looks similar. Some washable nail files use plastic-board, EVA, sponge, and sandpaper combinations, but a wood core or another bonded format may require different handling. Follow the confirmed instructions for the exact product. After compatible cleaning, dry the tool fully and store it where the abrasive surface will not stay damp or rub against other tools.
Replacement Signs and a More Responsible File Routine
Replace a file when the abrasive no longer cuts evenly, the core bends or separates, the surface remains clogged, or extra pressure becomes necessary. The phrase eco friendly nail file should be supported by material, useful life, cleaning compatibility, packaging, or replaceability evidence, not by color or a vague label. A longer-lasting or replaceable format can reduce unnecessary disposal only when it remains suitable and hygienic for the intended workflow.
How Does Felice beauty Turn Filing Requirements into a Custom Nail File?
Which Grit, Shape, and Board Details Should Buyers Specify?
For a consistent how to file nails routine, buyers need more than a logo. At Felice beauty, we can discuss abrasive type, grit pairing, straight or shaped profiles, board thickness, cushioning, color, and pack format. Documented file constructions include plastic board, EVA, sandpaper, Japanese sandpaper, and sponge-supported formats. The buyer should state the working area, desired removal stage, expected finish, and cleaning policy before selecting a custom nail file.
Sample Review, Logo Placement, and Packaging Before Production
Felice beauty supports custom logo, label, shape, size, color, and packaging discussions for eligible formats. A pre-production sample lets the buyer check abrasive feel, edge finish, print position, grit identification, board response, and pack protection before a bulk order. Felice beauty should be evaluated against the approved sample and written specification, not against an unverified assumption that every construction behaves the same.
FAQ
Q: How Often Should You Use a Nail File on Natural Nails?
A: File when length or a snag needs correction rather than following a rigid daily schedule. Frequent touch-ups should be light. If every session requires major reshaping, review the chosen shape, grit, and routine.
Q: Should You Use a Nail File on Wet or Dry Natural Nails?
A: Dry filing generally makes the free edge easier to see and control. Water can temporarily soften nails, so wait until the nail is dry unless the exact tool and professional procedure specify another method.
Q: Do Metal Nail Files Wear Out?
A: Yes. Metal does not make a working surface permanent. Judge wear by declining abrasion, visible damage, corrosion, deformation, or the need for extra pressure. Clean only as directed for the specific construction and replace the file when performance is no longer predictable.
Q: How Should You Use a Nail File When the Nail Edge Starts Peeling?
A: Do not pull the lifted layer or file deeply into attached nail. Use a suitable fine surface to remove only a catchable snag, then stop. Persistent, painful, discolored, or worsening changes fall outside routine cosmetic guidance and warrant professional assessment.