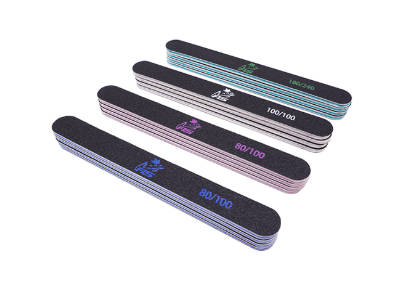
Nail filing should create a controlled edge, not a thinner or more fragile one. Problems usually begin when grit, movement, pressure, working area, construction, hygiene, or tool condition does not match the task. The damage may not look dramatic at first; extra resistance, a fuzzy edge, uneven removal, or the need to press harder can be early warnings. The seven mistakes below turn those signals into practical corrections.
Why Can Nail Filing Damage the Free Edge Before You Notice?
How Do Abrasion, Force, and Repetition Create Rough or Layered Edges?
Every pass removes material. A coarse surface removes more quickly, pressure increases contact, and repeated strokes concentrate work in one area. When those factors combine, the free edge can become uneven before the finished outline reveals the problem. Safe nail filing therefore depends on controlling the removal rate and checking progress, not on completing a fixed number of strokes.
Early Warning Signs That the File and Nail Are Mismatched
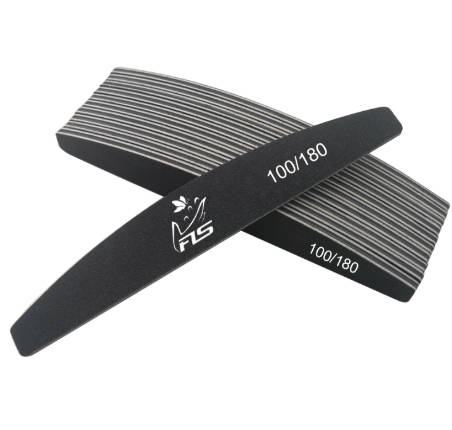
Stop and reassess when the surface catches, the edge becomes fuzzy, one side shortens much faster, debris clogs the abrasive, or the hand begins adding pressure. New flexing, vibration, lifting abrasive, or a warped core also changes control. These signs do not diagnose a nail condition, but they do show that the present tool-and-technique combination is no longer predictable.
Which Seven Nail Filing Mistakes Cause the Most Avoidable Damage?
Mistake 1: Are You Using a Grit That Is Too Coarse?
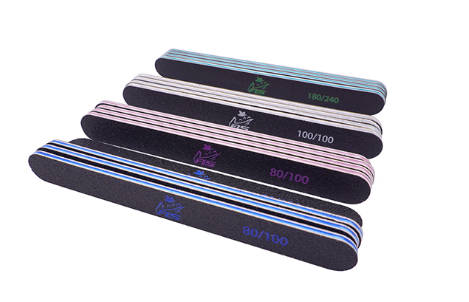
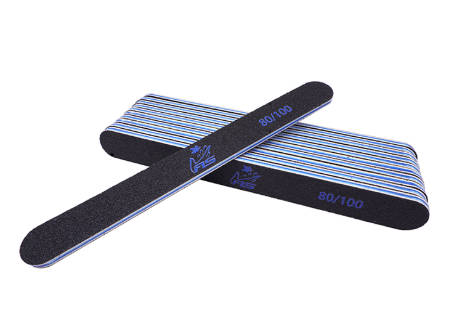
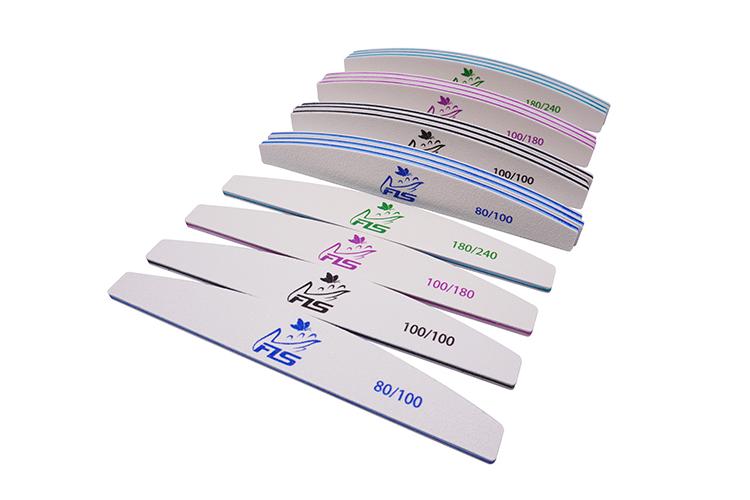
The nail file numbers run opposite to coarseness: lower numbers are coarser and higher numbers are finer. Choosing a very coarse surface for a small natural-edge correction can remove more than intended. Begin with the task and condition, test a light stroke, and move finer when the file catches or produces a rough edge. Fast removal is useful only when the material and service actually require it.
Mistake 2: Filing Back and Forth Without Stroke Control
The problem is not movement in two directions by itself; it is hurried sawing over the same weak point. Rapid, uneven strokes make pressure and angle difficult to repeat. Support the finger, use deliberate passes, release pressure at each end, and inspect the outline. Controlled contact protects accuracy better than a rigid slogan about stroke direction.
Mistake 3: Why Does Extra Pressure Signal the Wrong Tool or Method?
A suitable abrasive should do the cutting while the hand guides it. If nail filing suddenly requires more force, the grit may be too fine for the task, the surface may be clogged, or the abrasive may be worn. Pressing harder reduces feedback and can bend the free edge. Pause, clean only where compatible, or change the file instead of forcing a failing setup.
Mistake 4: Are You Using a Shaping File Across the Nail Surface?
A shaping file is intended to establish length and outline. Repeatedly using that surface across the top of a natural nail can remove material from an area that did not need shortening. Surface refinement belongs to a suitable buffer or polishing stage with a defined purpose. Keep free-edge shaping and surface finishing as separate tasks, tools, and stop points.
Mistake 5: Does the File Material or Core Match the Job?
The nail file material and its support work together. Bamboo nail files use a wood-based core; an emery nail file typically uses abrasive on a board; glass, metal, sandpaper, and sponge-supported constructions provide different stiffness and feedback. A nail file alternative should solve a task problem, such as access, cushioning, cleaning compatibility, or replaceability. Switching materials without defining the job merely changes the tool, not the decision.
Mistake 6: Can This File Be Washed or Reused Safely?
Do not assume all files tolerate the same cleaning process. Verified washable nail files include selected plastic-board, EVA, sponge, and sandpaper constructions, but similar-looking wood or bonded files may react differently. Confirm the exact product instructions, dry a compatible file fully, and follow the salon’s assignment and disposal policy. The phrase eco friendly nail file also needs evidence about material, service life, packaging, cleaning, or replaceability; a green label alone proves nothing.
Mistake 7: Continuing After the Abrasive or Core Has Worn Out
A worn file often removes material unevenly and encourages extra pressure. Retire a tool when the abrasive has smooth patches, remains clogged, lifts from the core, or no longer cuts consistently. Replace a core that bends, cracks, warps, or develops damaged edges. Metal formats also need inspection for declining abrasion, deformation, damage, or corrosion. Familiarity is not a reason to keep an unreliable tool in service.
How Can You Turn Seven Corrections into a Repeatable Filing Routine?
Before Filing: Match the Nail, Material, and Grit
Inspect the free edge, define the intended change, and select the least aggressive surface that can complete that change with control. Confirm whether the construction supports the planned cleaning policy. Position the finger and decide on the final shape before abrasion starts. This short check prevents several nail filing mistakes before they become visible.
During Filing: Which Motion, Pressure, and Stop Point Keep Control?
Work in deliberate passes, keep the angle stable, and inspect from more than one direction. Let the abrasive cut without pressing the edge into flex. Stay on the intended working area, then move to a finer finishing stage when the outline is established. Stop when shape and smoothness meet the plan; do not continue merely because the routine normally takes longer.
After Filing: What Should Be Cleaned, Checked, or Replaced?
Remove visible debris using a method compatible with the file, dry where washing is allowed, and protect the abrasive in storage. Check for lifting, clogging, smooth areas, core damage, and changes in cutting feel. Record replacement criteria for a professional workflow so staff do not rely on memory or appearance alone.
How Does Felice beauty Help Buyers Reduce Filing-Tool Errors?
Which Grit, Shape, Core, and Flexibility Choices Prevent Mismatch?
At Felice beauty, we can discuss task-specific combinations of abrasive, grit, shape, plastic-board thickness, EVA, sponge support, color, and pack format. Documented options include grit ranges from coarse to fine, several straight and shaped profiles, and sandpaper or sponge-supported structures. A buyer defining a custom nail file should state the working area, removal stage, desired finish, and care policy rather than selecting features independently.
Sample Approval and Custom Nail File Controls Before Production
At Felice beauty, we support eligible logo, shape, size, color, label, and packaging customization. A pre-production sample lets the buyer check grit identity, cutting feel, flexibility, edge finish, printing, and pack protection against one written brief. We can then use the approved sample as a practical reference for production review. This process reduces specification drift, but the buyer must still validate the file in the intended service.
FAQ
Q: Do Metal Nail Files Wear Out?
A: Yes. Inspect effective abrasion, shape, surface damage, corrosion, and the pressure needed. Replace a metal file when performance becomes uneven or the tool can no longer be cleaned and used as intended.
Q: Can Nail Filing Make Existing Peeling Worse?
A: Excess contact can catch or extend a visibly lifted layer. Remove only a snag that can be corrected without filing into attached nail, then stop. Persistent, painful, discolored, or worsening changes need professional assessment.
Q: How Can You Tell That a Nail File Is Too Coarse?
A: Warning signs include very rapid removal, a rough or fuzzy edge, catching, loss of control, and a finish that needs extensive correction. Move to a finer surface and reduce pressure.
Q: When Should You Stop Nail Filing?
A: Stop when the planned length and shape are balanced and the free edge feels smooth. Also stop immediately if control declines, the nail flexes, the file catches, or discomfort appears.