Press on nails have totally changed at-home manicures. They’re simple, budget-friendly, and look fantastic. Heading to a special occasion? Use them. Just want to add some fun to your everyday look? Use them too. Press on nails let you instantly look great with minimal work. New to this? No worries. You can still get perfect results. Just follow a few easy steps. This guide will teach you how to apply press on nails like a pro.
Step 1: Picking the Right Press On Nails
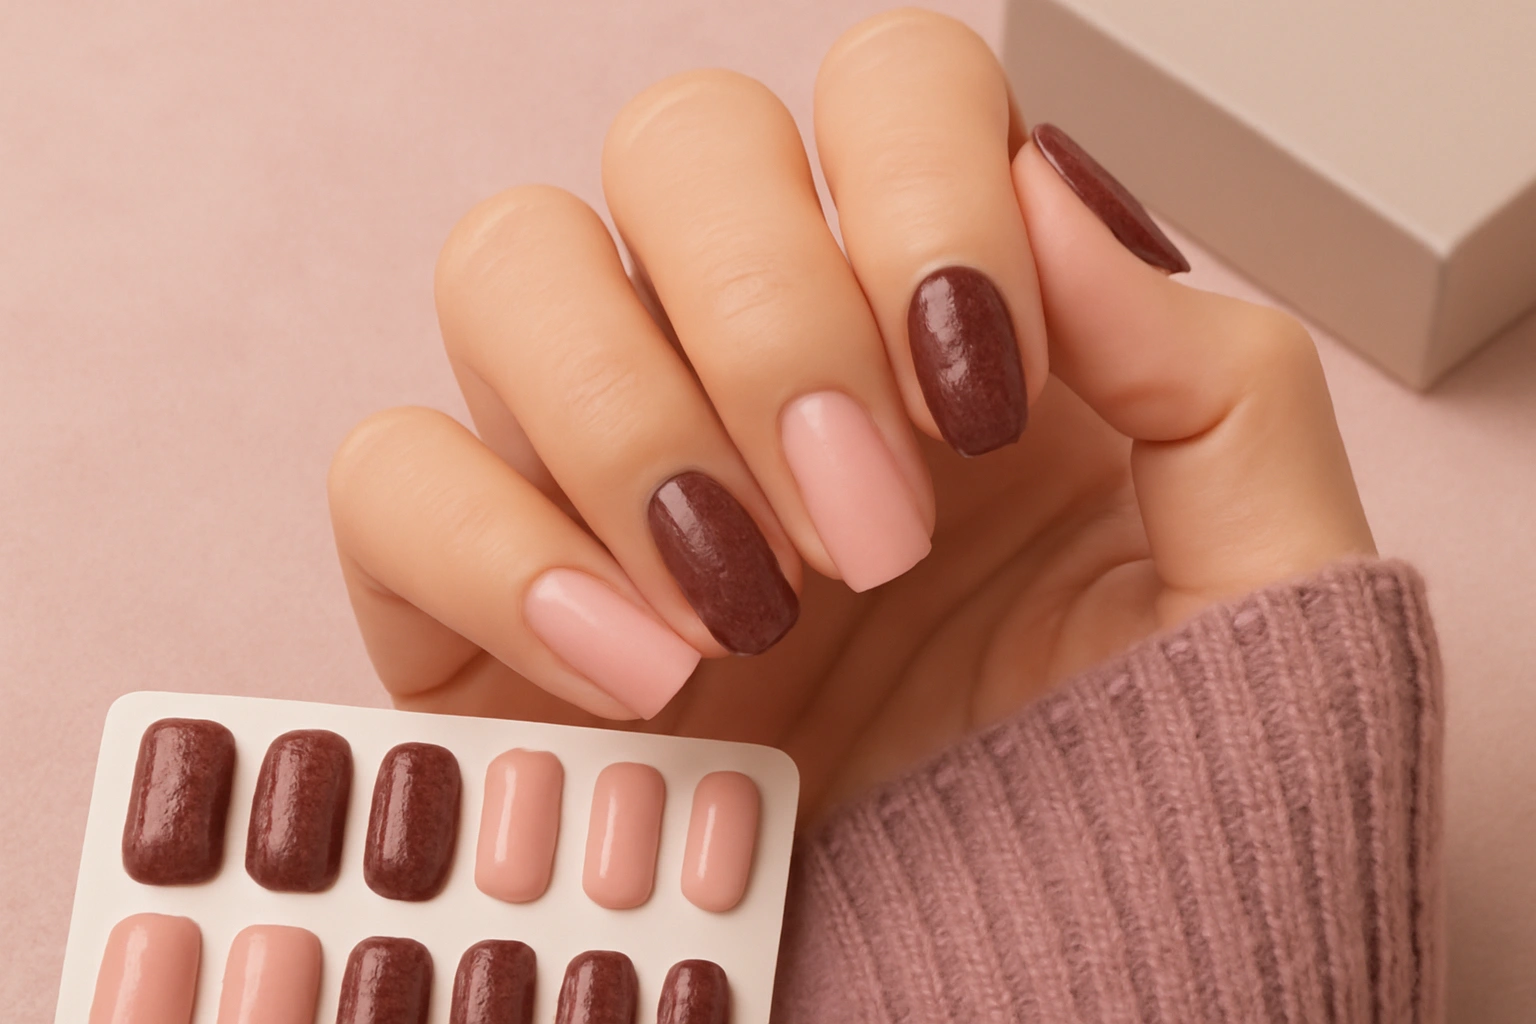
Finding the Best Shape and Length
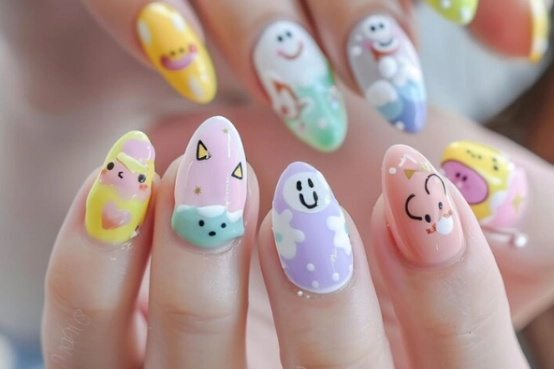
Before you begin, pick out press on nails that fit your natural nails. Also, choose ones that suit your day-to-day life. You can go for shapes like square, almond, coffin, stiletto, or oval. Short nails are perfect for everyday wear. This is especially true if you’re busy or active. Longer styles? They add serious drama. Save these for special events.
Choosing the Right Size
Most press on nail kits come with different sizes. Lay each nail over your natural nail to find the best fit. If you’re unsure, go for the smaller size. You can file it to fit perfectly. This helps them stick better and stay on longer.
Checking Material and Finish
Quality is key for press on nails. Look for ones made from tough resin that won’t chip or crack easily. Felice offers awesome builder base gel hema-free base coats. They’re strong, easy to apply, and resist chipping. These are perfect if you want to add polish later.
Step 2: Getting Your Natural Nails Ready
Cleaning Your Nails
Wash your hands well with soap and water. Then use an alcohol wipe or a gentle nail polish remover to get rid of oils or dirt. Clean nails help press on nails stick better.
Tidying Up Your Cuticles
Use a wooden stick or cuticle pusher to gently push back your cuticles. Trim any extra skin carefully. This makes your nails look neat and helps press on nails sit flat.
Buffing Your Nails
Grab a nail buffer, like Felice’s high-quality mini buffer block. Lightly buff each nail’s surface. This takes off the shine and adds grip for the adhesive.
Step 3: Shaping Press On Nails for a Perfect Fit
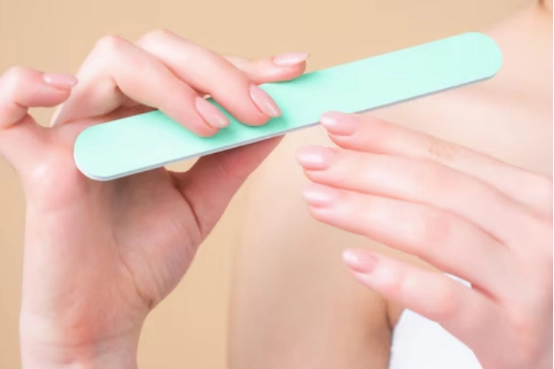
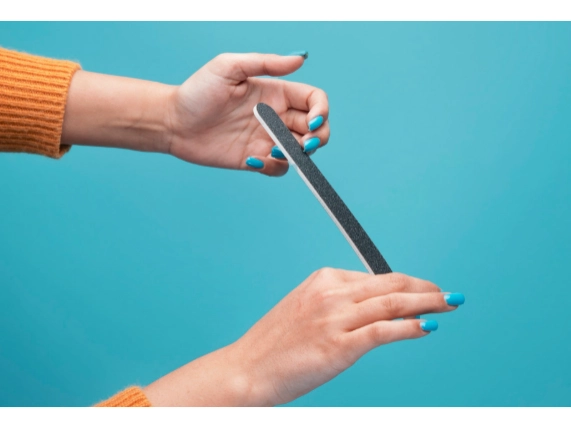
Filing for a Snug Fit
Even pre-shaped press on nails might need a little tweak. Use an emery board or a fine file, like Felice’s custom zebra grey nail file. Shape the sides to match your natural cuticle line perfectly.
Trimming to Your Favorite Length
If the press on nails are too long, cut them down with a nail clipper made for fake nails. Smooth the edges with a file afterward.
Step 4: Using Adhesive the Right Way
Glue vs. Adhesive Tabs
You can attach press on nails with glue or sticky tabs:
Pros and Cons of Nail Glue
Glue holds stronger, great for events lasting a few days. But it’s trickier to take off.
When to Use Sticky Tabs
Tabs are gentler on your nails and easier to remove. They’re perfect for short-term looks or if you’re trying press on nails for the first time.
Applying Just Enough Adhesive
If you use glue, put a tiny drop on your natural nail and inside the press on nail. Too much glue makes a mess. Too little won’t stick well.
Step 5: Putting On Press On Nails
Lining Up with Your Cuticle
Start by placing the press on nail’s bottom edge just above your cuticle at a slight angle. Gently press it down onto your nail bed.
Pressing for a Strong Hold
Hold each nail firmly for 15–30 seconds. This spreads the adhesive evenly. It prevents air bubbles or gaps.
Step 6: Tips to Make Them Last
Avoid Water Right After
Don’t soak your hands in water, like for dishes or a bath, for at least an hour after applying press on nails. Water can weaken the adhesive too soon.
Wearing Gloves for Chores
Protect your manicure by wearing gloves when cleaning or washing dishes. This keeps harsh chemicals from damaging the glue or finish.
Step 7: Taking Off Press On Nails Safely
Gentle Soaking Methods
Warm Soapy Water
Soak your hands in warm soapy water for 10–15 minutes. The nails should loosen up. Gently lift them from the sides with a wooden stick.
Non-Acetone Remover
Use a gentle, acetone-free polish remover if needed. It’s kinder to your nails but still loosens the adhesive.
Protecting Your Real Nails
Don’t yank off press on nails. This can hurt your natural nails. Be patient and soak longer if they don’t come off easily.
Step 8: Storing and Reusing Press On Nails
Cleaning for Reuse
Remove leftover glue with a buffer, like Felice’s extra coarse black mini buffer block. Wipe the nails with alcohol before storing.
Storing Them Right
Keep cleaned press on nails in their original box or an organizer. Store them away from heat or sunlight to avoid warping or fading.
With these easy steps—from picking the right press on nails to taking them off safely—you’ll get salon-worthy nails at home with no stress. For the best results, go with trusted brands like Felice Cosmetics. Choose Felice, means you choose a professional and reliable partner with OEM/ODM service. Check out our awesome range of nail goodies, like gel polish, fake nail tips, buffers, and stickers—all you need in one spot!
FAQ
Q: How long do press on nails usually stay on?
A: Press on nails can last anywhere from a few days up to two weeks. How long they stay put really depends on the glue or sticky tabs you use and how careful you are with them.
- Sticky tabs are good for short-term wear. They usually hold for 1-3 days.
- Glue is stronger. It can keep your nails on for 7-14 days. This is great for longer wear.
- To make them last longer, try to avoid water. Also, be careful with rough tasks.
Q: Are press on nails okay for kids or teens?
A: Absolutely, but be a little careful! Press on nails are safe for kids or teens for special times, like parties. It’s best to use adhesive tabs instead of glue. Tabs are easier to take off. They are also less risky for young nails. Make sure an adult helps put them on and take them off. This keeps things safe.