What Does a Nail Buffer Do for Your Nails?
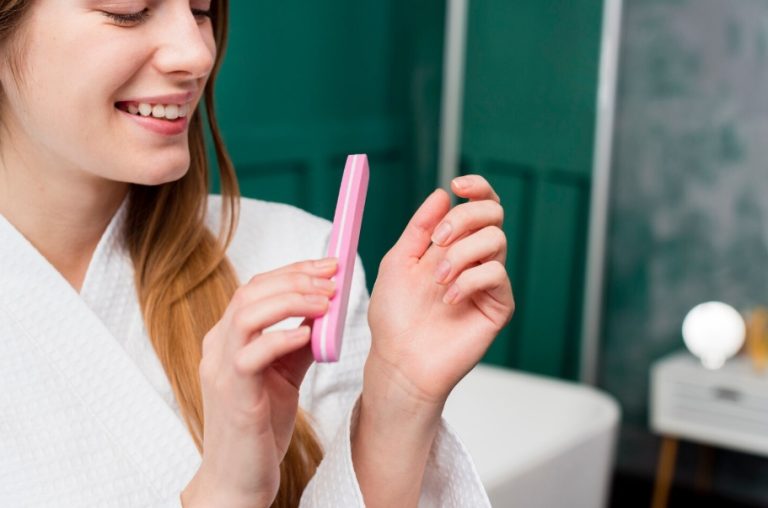
A nail buffer is a basic manicure tool. It refines the nail surface. This makes your nails look smoother and cleaner. They also appear naturally shinier. On a practical level, it reduces the look of ridges. It also hides dullness and minor unevenness. Many people use a nail buffer for tidy natural nails without color. Others use it to create a better base before they apply polish.
How a Nail Buffer Works on the Nail Surface
A nail buffer works by creating gentle friction. This friction acts across the top layer of the nail plate. It helps smooth any raised texture. It also softens the appearance of lines. You can create a polished finish when you use it correctly. This finish reflects light well. Because of this, buffed nails often look glossy even without a top coat.
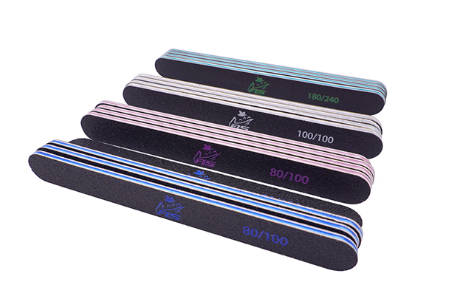
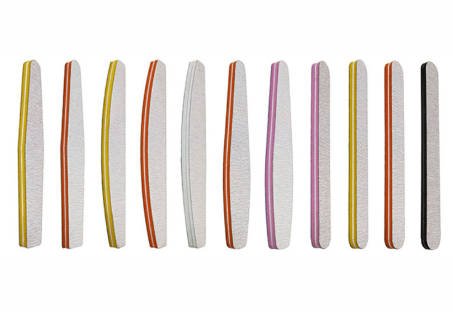
Different types of nail buffer tools handle slightly different jobs. A simple nail buffer block might have two sides. Meanwhile, a multi-step version can include surfaces for shaping, smoothing, polishing, and shining.
Why Do People Use a Nail Buffer?
People use a nail buffer for three main reasons. First, it improves the look of dull nails. Second, it prepares the surface for polish. It does this by making the nail more even. Third, it enhances natural shine. This is great for anyone who prefers a bare-nail style.
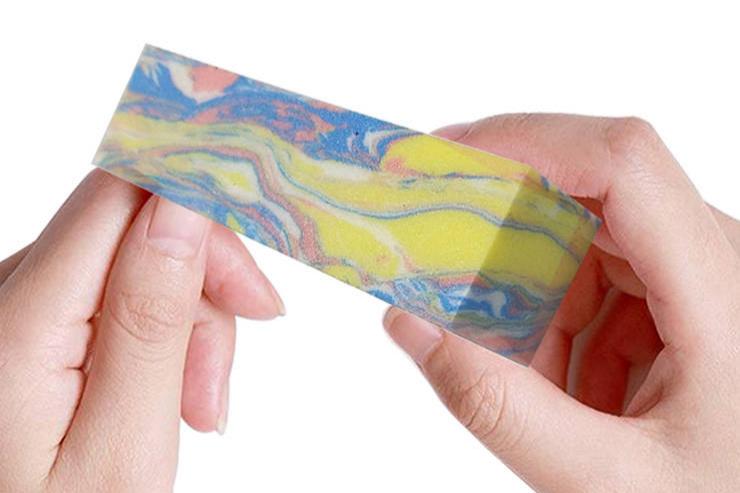
How to Use a Nail Buffer Step by Step
What Should You Do Before Buffing?
Always begin with clean and dry nails. Remove any polish, oils, and lotion. This allows the buffer to work evenly. Trim and shape the free edge first. This step prevents you from buffing a surface that will change shape later. Also, check your nails closely.
How Do You Buff Nails Correctly?
Step 1: Shape the nail edge
Use the shaping side to refine the nail outline. You can use a separate file if your buffer lacks one. Keep your strokes gentle and controlled. Avoid harsh sawing motions. Repeated stress at the tip can increase splitting.
Step 2: Smooth surface ridges
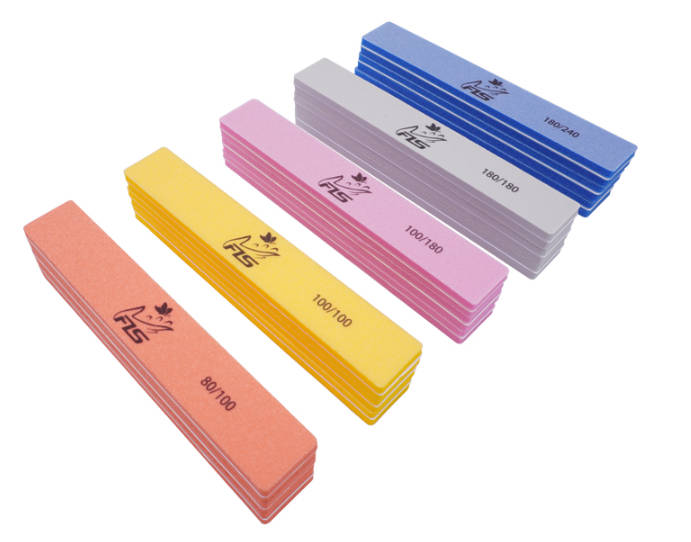
Use the smoothing side lightly over the nail plate. Make short and even passes. Focus on visible ridges. Do not scrub the whole nail aggressively. You might use a nail buffer grit chart. If so, remember that lower grit numbers are coarser. You should use them more carefully. Higher grit numbers are finer. They are better suited to surface refinement.
Step 3: Polish the nail surface
Switch to the finer side to refine the texture. Do this after ridge smoothing. This stage helps remove the dullness. The earlier surface leaves this dullness behind. Use light pressure only. Buffing harder does not create a better shine. It usually just removes more of the nail.
Step 4: Add shine
Finish with the shine side. Use quick and gentle motions. Stop once a natural gloss appears. Overdoing the shine step can still create unwanted friction.
How Much Pressure Should You Use?
Light pressure is enough. A nail buffer should glide over the nail. It is not meant to grind into it. Too much force can thin the nail plate. It can also make your nails feel tender. In most cases, a few passes per nail are sufficient.
Are There Common Mistakes to Avoid When Using a Nail Buffer?
Can You Buff Nails Too Often?
Yes. Over-buffing is a very common mistake. It may thin the nail plate. This makes nails weaker over time. For many people, occasional buffing works better than frequent polishing. The right schedule depends on your nail thickness, condition, and sensitivity.
What Mistakes Can Affect Nail Health?
Using a coarse surface too aggressively
A coarse nail buffer block can be useful. However, you should use it carefully and sparingly. Rough handling can leave nails fragile and sore. You might check a nail buffer grit chart. Choose a finer option for routine shine. Select a coarser option only when you need real surface smoothing.
Buffing damaged nails
Your nails might be peeling, cracked, or already weak. If so, friction can worsen the issue. Recovery care is often the better choice. Do this before you try buffing again.
Skipping aftercare
Buffing removes some surface roughness. However, it can also leave the nail temporarily dehydrated. Your nails and cuticles need moisture. They benefit from hydration immediately afterward.
How Can You Keep Nails Smooth, Shiny, and Healthy After Buffing?
What Should You Apply After Using a Nail Buffer?
Apply cuticle oil after buffing. This helps restore moisture. Hand cream is also very useful. Healthy surrounding skin supports healthy-looking nails. You might want to keep the shine longer. If so, you can add a clear protective coat. Just note that this creates a different finish compared to a natural buffed shine.
Which Habits Support Better Nail Condition?
Daily nail care habits
Keep your nails clean and dry. Wear gloves when your hands stay in water for long periods. Also wear them when you use cleaning products. Avoid using your nails as tools. Do not use them to open, scrape, or pry objects. This behavior often leads to breakage and peeling.
Nutrition and hydration
Hydration supports your overall nail condition. A balanced diet contributes to stronger-looking nails over time. Buffing helps their appearance. However, long-term nail quality depends on daily care. It also relies on general health habits.
Why Consider Felice Beauty Nail Buffer Products?
What Makes a Good Nail Buffer for Home Use?
A good home-use nail buffer should be comfortable to hold. It needs to be easy to understand and gentle on natural nails. Clear step progression matters a lot. It helps users move from smoothing to polishing to shine in the correct order.
Felice Beauty and Nail Buffer Product Range
At Felice beauty, we focus on practical nail care tools. These are great for routine maintenance and manicure prep. We are a professional nail art company. We specialize in nail art tools. We offer good quality, good prices, great sales, and a great reputation.
How Can You Choose the Right Felice Beauty Nail Buffer?
For natural nail maintenance
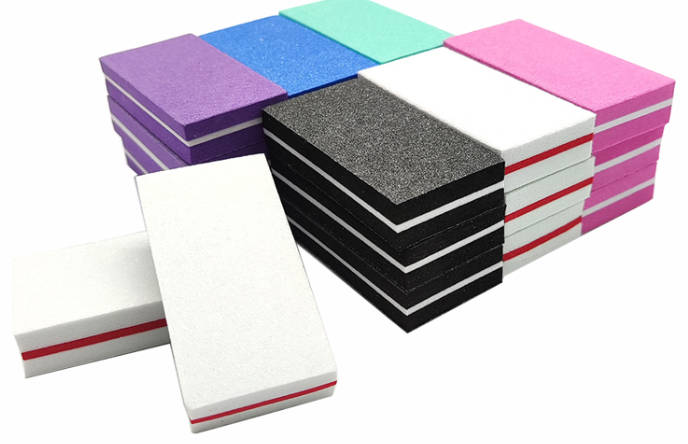
Your goal might be routine upkeep. If so, choose a gentle buffer. It should smooth lightly without too much abrasion. We are a Professional manufacturer of high-quality small-size mini nail buffer blocks—supporting customization.
For shine-focused finishing
You might want more control over each step. In that case, select a multi-step buffer. A 4-way format is especially useful. It helps readers searching for a 4-sided nail buffer know how to use the solution. The separate sides can guide you directly from smoothing to a nice gloss.
FAQ
Q: How often should you use a nail buffer to buff your nails?
A: Buff them occasionally, but not too often. Your nails might be soft, thin, or sensitive. If so, reduce the frequency even more. Overuse can easily weaken the nail plate.
Q: Can you use a nail buffer on natural nails?
A: Yes. A nail buffer is commonly used on natural nails. It smooths ridges and adds shine. Just use light pressure. Avoid making repeated passes over the exact same area.
Q: Q: Is using a nail buffer better than using clear polish?
A: They do different things entirely. Buffing creates a natural shine directly on the nail surface. Meanwhile, clear polish adds a coated finish. This coat may preserve a glossy appearance for a longer time.