Taking care of your nails is a part of looking after yourself that sometimes doesn’t get as much focus as other beauty rituals. Getting the hang of using a nail buffer block can really step up your nail game. This tool not only helps you achieve flawless nails but also boosts their overall look. Knowing how to make the most of the sides of the buffer block is essential for getting the most out of your manicure session.
The Basics of Using a Nail Buffer Block
What is a nail buffer block?
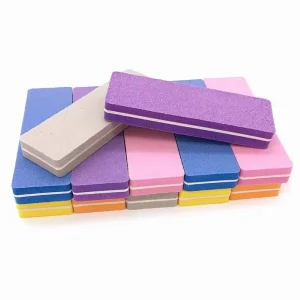
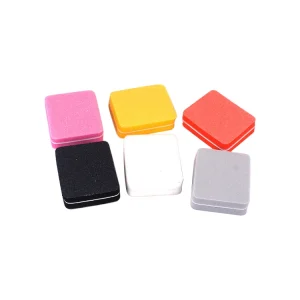
A nail buffer block is a tool that helps shape and improve the look of nails. Usually crafted from a cushioned material, it has four sides, each with its own purpose in nail care. This handy block is a must-have in any beauty regimen, whether you’re someone who enjoys taking care of their nails or not. Mastering the use of each side is key to achieving flawless manicures.
Benefits of Using a Nail Buffer Block
There are benefits to using a nail buffer block. It lets you nail file, buff, polish, and shine your nails with precision, resulting in more beautiful nails. Using it regularly can prevent splintering, peeling, and chipping, which helps manicures last longer. Moreover, it offers a budget-friendly way to care for your nails at home, saving you both time and money compared to salon trips.
Types of Nail Buffer Blocks Available
There are different types of nail buffer blocks to meet various nail care requirements. Some are tailored for nails, while others work best for acrylics or gels. The variations in grit and texture among these types can influence how easy they are to use and the end results they deliver. As someone who cares about nail care, choosing a nail buffer block can improve your outcomes and give you more precision when applying it.
Understanding the Four Sides of a Nail Buffer Block
Side 1: Filing Surface
Purpose and Usage of the Filing Surface
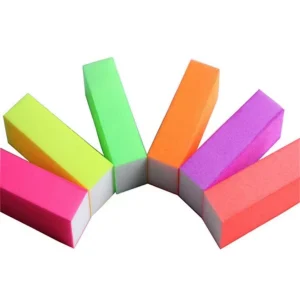
The rough side of a nail buffer block is usually used to shape and smooth the edges of the nails. It’s important for adjusting length or fixing any areas before working on the sides. This side preps the nails for the parts of the buffer that create a base for the next steps.
How to Effectively Use the Filing Surface
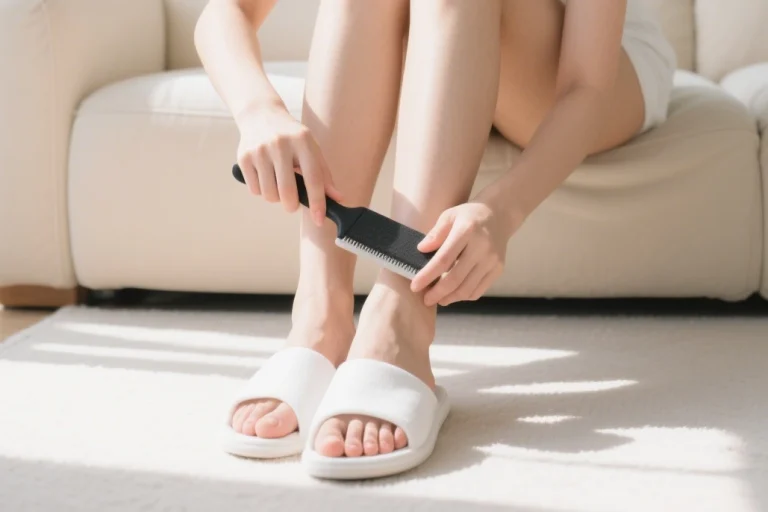
When filing your nails, tilt the file slightly. Move it in one direction to avoid damaging your nails and achieve a finish. Begin by shaping the nails as desired, being mindful not to file much and weaken the nail structure.
Side 2: Buffing Surface
Purpose and Usage of the Buffing Surface
The buffing surface is made to eliminate any scratches or flaws caused by filing. It gives the nail surface a feel, preparing it for polishing. This step is crucial for improving the look by perfecting the nail and ensuring it is flawless.
Techniques for perfect buffing
For optimal results with the buffing surface, use gentle, circular motions while applying light pressure. Focus on each nail for a few seconds to allow the buffer to refine the surface effectively. Doing this will help achieve that flawless finish, making it easier to apply nail polish later and prolonging the life of your manicure.
Side 3: Polishing Surface
Purpose and Usage of the Polishing Surface
The polishing surface adds a gleaming shine to the nails, enhancing their natural beauty. This side aims to create a reflective surface that elevates the appearance without the need for additional products. Using this part of the buffer properly can make your nails look polished and well-groomed.
Best Practices for Polishing Your Nails
To maximize the effectiveness of the polishing surface, use swift, back-and-forth strokes. It is important to avoid applying too much pressure to prevent damaging the nail. Spend a few moments on each nail to achieve a consistent shine, helping to create a professional look right at home.
Side 4: Shining Surface
Purpose and Usage of the Shining Surface
The shining surface is the final step in the nail buffering process and serves to significantly amplify the luster of your nails. This side is typically the softest, designed to produce a high shine similar to that of a professional finishing treatment. It ensures that the hard work you’ve put into your nail care is beautifully displayed.
Achieving the Ultimate Shine on Your Nails
For the ultimate shine, apply the shining surface with a gentle touch, moving quickly but with precision. This process should be the last step after filing, buffing, and polishing, as it finalizes the entire manicure. A little patience in this step can lead to a lustrous and eye-catching finish that can compete with salon results.
By understanding the four sides of a nail buffer block and how to use each effectively, you can enhance your nail care routine and achieve salon-quality results at home. With tools like those available from Felice, mastering your nail care has never been easier.
Step-by-Step Guide to Using a Nail Buffer Block from Felice
Preparing your nails for buffing
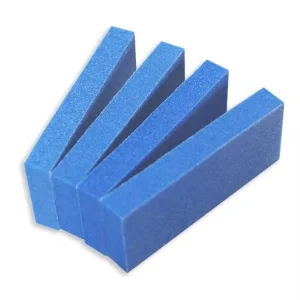
Before you start using your nail buffer block, a thorough preparation of your nails is essential. Begin by cleaning your nails to remove any polish, oils, or debris that may interfere with the buffing process. Soaking your nails in warm, soapy water for a few minutes can soften the cuticles and make it easier to push them back, creating a clean canvas for your nail care routine. Once your nails are clean and dry, ensure you have the appropriate tools at hand, including your Felice 4-way nail buffer block, cuticle pusher, and nail file, to achieve optimal results.
Detailed Steps for Each Side of the Buffer Block
Step-by-Step Instructions for Side 1: Filing
The first side of your nail buffer block is dedicated to filing, which is essential for shaping and defining your nails. This process involves gently gliding the coarser filing surface along the edges of your nails. Hold the nail buffer at an angle that feels comfortable and file in one direction to avoid potential damage. Aim to define the length and shape of your nails without applying excessive pressure, as over-filing can lead to weak and brittle nails. Make sure to take your time on this step, as a well-shaped nail lays a solid foundation for the rest of the buffering process.
Step-by-Step Instructions for Side 2: Buffing
Following the filing process, the buffing side of the nail buffer block is critical to refining the surface of your nails. This side will help eliminate any scratches or imperfections introduced during filing. Use circular motions with gentle pressure, focusing on each nail for several seconds, to ensure an even finish. Avoid applying too much pressure, as this can harm the nail rather than enhance its appearance. Buffing not only smoothens your nail surface but also prepares it for the polishing step, contributing to a healthier, well-groomed appearance.
Step-by-Step Instructions for Side 3: Polishing
The polishing side of your nail buffer block is designed to enhance the natural shine of your nails. After buffing, you will want to apply this side using quick, back-and-forth strokes to activate the shine-enhancing properties. This step helps to improve the overall appearance of your nails, giving you a polished look without the need for additional nail products. Be attentive to your pressure; too much force can cause damage. Commitment to this brief yet effective activity will set you up for the final, gleaming shine.
Step-by-Step Instructions for Side 4: Shining
Finally, the shining side of the nail buffer block is where your efforts culminate in a beautiful, high-shine finish. This side should be used with light pressure, applying it in rapid strokes while maintaining precision to maximize the luster of your nails. This last step enhances the overall radiance and can make your nails appear as if you’ve just left a salon. Take your time to ensure that each nail reflects light beautifully, enhancing the results achieved through the previous steps. This gentle finish sets the stage for the perfect polished look.
Expert Tips from Felice for Perfectly Buffed Nails
Choosing the Right Buffer Block for Your Needs
Picking out the nail buffer block from a known brand, such as Felice, is crucial for getting the results you want. Not all buffer blocks are the same; they come in textures and strengths designed to meet needs and preferences. When deciding on a buffer, think about the kind of nails you have—whether they’re natural, acrylic, or gel—as certain blocks work better for materials. Taking the time to understand your nail type and choosing the nail buffer block can really enhance your satisfaction with how your nails turn out.
It’s also an idea to search for a nail buffer block that has surfaces. For example, a block similar to the ones from Felice usually has one side for filing, another for buffing, and specific surfaces for polishing and shining. Having a buffer with surfaces can make your manicure process more efficient and effective, helping you achieve a finish quickly and with minimal effort. Choosing a high-quality buffer that suits your requirements lays the foundation for a nail care regimen.
Additional Tools to Pair with a Nail Buffer Block
To enhance your nail care regimen, think about adding tools that work well with a nail buffer block. The key tool to have alongside your buffer is a nail file. A nail file helps with shaping. Assists in achieving the ideal nail length before starting the buffing procedure. This preliminary step before buffing guarantees that the remainder of your nail care routine is as efficient as it can be by establishing a base to build upon.
In addition, adding a cuticle pusher to your nail care kit is an idea. This tool can help you clean up the area around your nails, making them look neat and preventing any discomfort while buffing. Before using the nail buffer block, it is recommended to push your cuticles. This small but effective step can enhance the appearance and health of both your nails and skin, giving them a look after you finish buffing and shining.
Don’t forget to moisturize your nails and cuticles using a hydrating oil or cream after you finish buffing them. This important step helps keep your nails in good condition after buffing, which can help them last longer and look better overall. By incorporating these tools and routines into your nail care routine, you can achieve results that not only look great but also support the health of your nails.

