I. Introduction
Hello to all the skilled nail techs and nail care fans! Whether you are a salon expert or a keen DIY lover, knowing your tools well is vital for getting perfect outcomes and safeguarding nail health. One of the key tools in any nail kit is the double-sided sandpaper nail file. It is essential but often not fully understood.
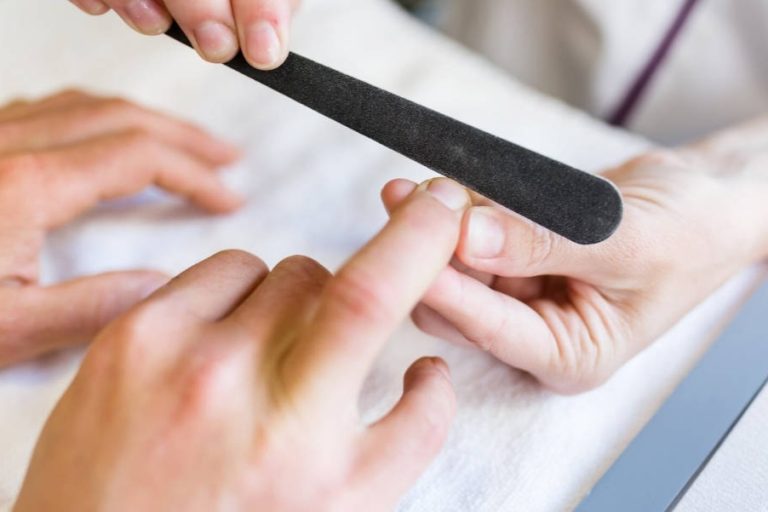
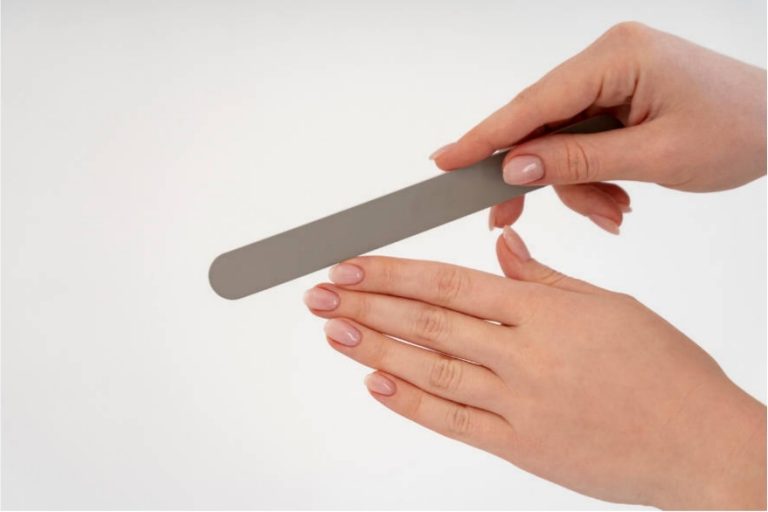
These double-sided sandpaper nail files are handy. They mix two distinct grits on one item to make filing quicker. Yet, not every grit is the same. Using the wrong side for the wrong job can harm nails. This is especially true for natural nails.
This piece will guide you on what grit means. It will explain why double-sided files are built this way. You will learn how to use common grit pairs like 100/180 and 180/240 in a safe and smart manner. Knowing grit pairing is more than skill. It is about giving pro results while keeping nail strength intact.
II. What Does “Grit” Mean on a Nail File?
Grit means the count of rough particles per square inch on a sandpaper nail file. A smaller number shows a rougher and bolder surface. On the other hand, a bigger number points to a smoother and softer feel.
For instance:
- A file with 100 grit is rougher than one with 180 grit.
- A 240 grit is smoother and gentler than both.
Pro high quality custom private logo zebra grey nail file and emery board items from Felice beauty often appear in mixes like 100/180 or 180/240. These let you take a step-by-step way to filing. You shape with the rougher side. Then you smooth with the gentler one. This two-sided setup lets one tool work well in various steps of a manicure or enhancement job.
III. Why Nail Files Are Double-Sided
Double-sided nail files offer more than ease. They are made for strong performance. By combining two grits, these files lead you through an organized process step by step:
- Begin with the rougher side to cut length or take off extra material.
- Turn to the gentler side to fine-tune the form or even out borders.
This setup cuts down on changing tools during a job. It brings benefits like:
- Better speed
- Stronger grip
- Smoother shifts in shaping
- Fewer items on your workspace
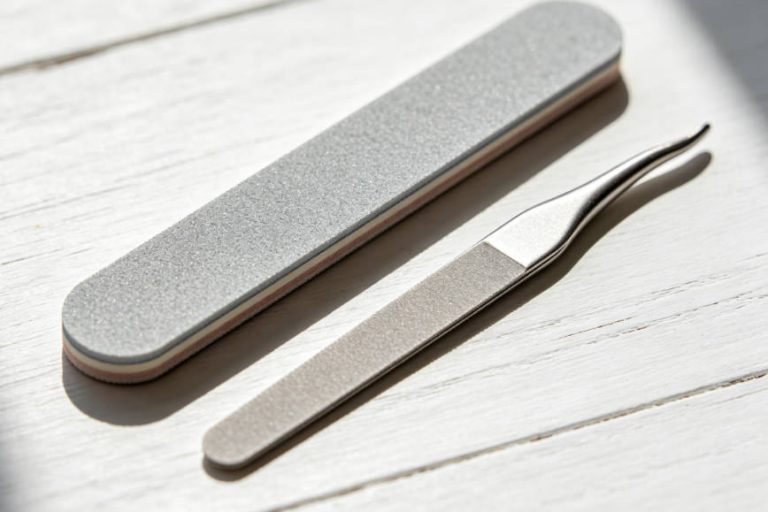
The perfect zebra grey sandpaper sponge nail file for manicure shows this smart design well. It is tough, easy to clean, and fits salon pros who want steady grit changes in one file.
IV. Common Double-Sided Grit Pairings Explained
1. 100/180 Grit Nail File
100 Grit Side
This is a quite rough, strong grit. It is used mainly to take off product fast. It works best for:
- Cutting down bulk in acrylic enhancements
- Trimming extensions
- Filing hard gel overlays
180 Grit Side
This medium grit smooths the form after first bulk removal. It evens out bumpy spots left by the 100 grit. It also readies the surface for more smoothing or polishing.
Use Cases
This pair suits fake nails like acrylics or hard gels. For example, Felice beauty professional uv gel extension poly gel. But it is too rough for natural nails. Never use it right on them.
2. 180/240 Grit Nail File
180 Grit Side
It is soft enough to shape natural nails without harm. It also works well for smoothing soft enhancements like builder gel or rubber base layers.
240 Grit Side
This counts as a smooth grit. It is great for evening free edges. It also preps the nail surface before adding items like Felice beauty high quality gel polish. It takes off shine from the nail plate. Yet it does not thin it.
Use Cases
It fits well for:
- Natural nails
- Last shaping steps
- Gel polish prep
This mix supports a light touch. At the same time, it makes sure good sticking for polish or gel use.
3. Lower Grit Pairings (80/100 or 80/120)
These pairs are built for tough jobs. Their rough feel makes them right for:
- Taking off thick acrylic layers
- Big length cuts in enhancements
Warning
Do not use these grits on natural nails. They can cause bad scraping, hurt the nail bed, and bring peeling or splitting.
Extra coarse strong mini size small black nail buffer block with grit levels like 80# and 100# suits such hard tasks. But keep it only for fake structures.
4. Higher Grit Pairings (240/320 and above)
These very smooth grits handle ending tasks:
- Soft polishing
- Last smoothing before polish
- Caring for weak or breakable nails
They make a soft even surface. They do this without stripping keratin layers from the natural nail plate. This is ideal for prepping non-harmful services like Felice beauty gel strips.
V. How to Choose the Right Grit Pairing
Picking the proper sandpaper nail file pair relies on a few main points:
Nail Type:
- Natural nails need smoother grits (180/240 or higher).
- Enhancements can handle rougher grits (100/180 or lower).
Service Goals:
- Removal means rough grit
- Shaping means medium grit
- Prep/Finish means smooth grit
Client Nail Condition:
- Weak nails need softer handling (240+).
- Thick enhancements can bear strong filing.
No single file fits every job. Even in one client visit, you might need several files based on the task. Just like all nail file products can be designed and produced as customer request, your tool use should match the needs.
VI. Common Mistakes with Double-Sided Nail Files
Even pros with experience can slip up on double-sided sandpaper nail files:
- Using Coarse Grit on Natural Nails: This tops the list of bad choices. It causes harm. Use 180 grit or higher on naturals.
- Skipping Grit Progression: Going from rough straight to polish can leave marks or bumpy spots.
- Applying Too Much Pressure: Let the file work. Too much push can build heat or thin nails.
- Using Worn-Out Files: When abrasives get dull, files lose power. Swap them often for best results. This is key in pro settings where cleanliness counts.
Professional high quality custom private logo black nail file types give salon-level strength. But replace them once wear shows.
VII. Final Thoughts
Grit pairing is not just a small fact. It is basic know-how that keeps services safe, quick, and done to a high shine. Knowing how each side of your sandpaper nail file works lets you do tasks better. It also shields clients’ nails from extra harm.
From taking off acrylic with rough grits to readying natural nails with smooth ones before using Felice beauty Top Coat UV GEL Polish, each part gains from careful file choice.
Pick tools on purpose. Follow grit steps with care. Always put nail health first along with looks. This is what makes top nail techs stand out from average ones.
FAQ
Q: Can I use a sandpaper nail file on natural nails?
A: Yes, but pick the right grit. A sandpaper nail file with 180 grit or higher is safe for natural nails. Lower grits (100 or below) are too rough. They can lead to thinning or harm.
Q: What is the best sandpaper nail file for beginners?
A: For new users, an 180/240 sandpaper nail file is the safest and most useful choice. It lets you shape gently and prep surfaces. There is no risk of over-filing.
Q: How often should a sandpaper nail file be replaced?
A: Replace a sandpaper nail file when the surface feels even, bumpy, or weak. In salon work, swap it often for good work and cleanliness.
Q: Why do sandpaper nail files have two different grits?
A: Double-sided sandpaper nail files aim for speed. The rougher side does shaping or removal. The smoother side evens and refines. This lets you follow grit steps with one tool.