Getting a shiny, salon-like finish on your nails does not always need a pro visit. With the right items and methods, you can get that glow at home. One key item is the nail buffer block. It is common in home care sets and pro nail shops. This piece will show you how to use a nail buffer block well. You will get a glassy shine safely and nicely.
What Is a Nail Buffer Block?
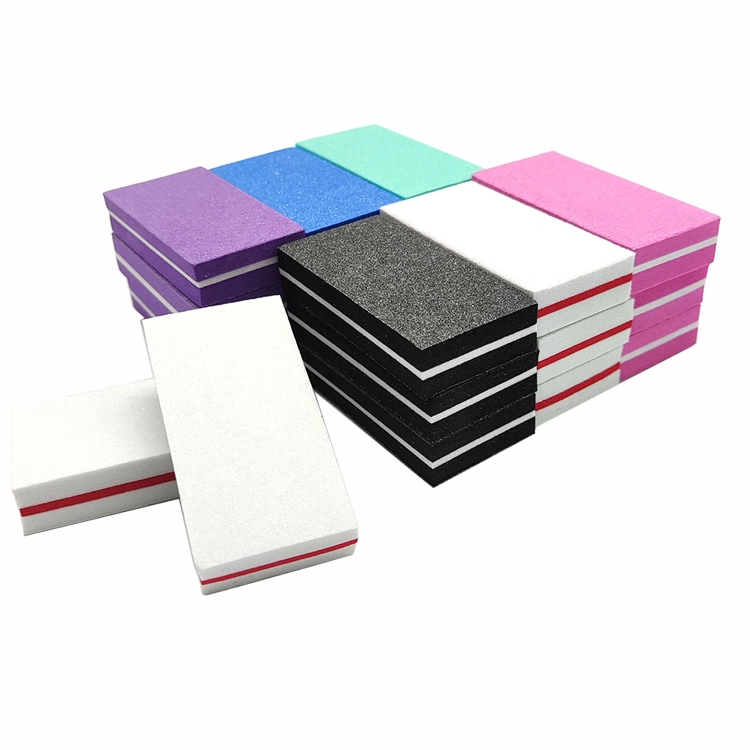
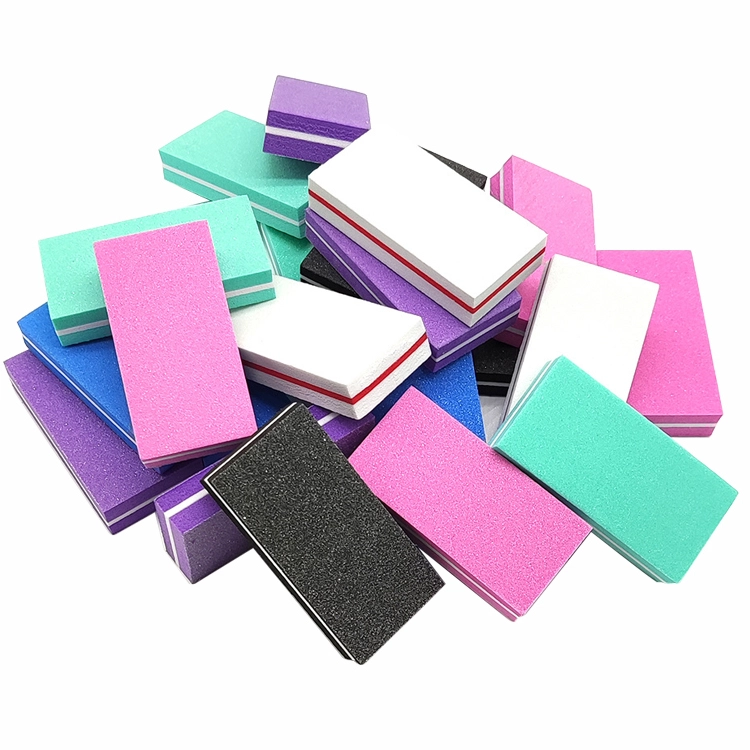
A nail buffer block is a handy tool. It smooths, fixes, and shines the top of your nails. It is usually box-shaped. It has many sides with different roughness levels. Each side has its own job. From removing bumps to giving a mirror shine. Felice offers a wide range of professional high quality mini size nail buffer blocks, with options like 2 sides, 3 ways, and 4 ways buffers, all featuring high elastic sponge and emery material for optimal performance.
Choosing the Right Nail Buffer Block
Types of Nail Buffer Blocks
Not all buffer blocks are the same. They come in various sizes, forms, and roughness.
- The “Extra coarse strong mini size small black nail buffer block” (Model #: FLS-NB-011) features an 80# or 100# grit perfect for heavy-duty smoothing.
- The “Good quality extra coarse strong 3 ways nail buffer block” (Model #: FLS-NB-010) provides three sides for progressive buffing.
- For finer detailing, the “High elastic sponge 4 ways nail buffer block with custom logo” (Model #: FLS-NB-008) allows for complete buffing and shining in one tool.
How to Select the Best Buffer for Your Nail Type
If your nails are thick or bumpy, pick a rough grit buffer like 80# or 100#. For normal care or soft nails, go for finer grit like 180# or 240#. Felice provides multiple grit options in their mini buffer blocks, such as the FLS-NB-002 which comes in 80#, 100#, 180#, and 240#. Picking the right one keeps damage away. It gives the results you want.
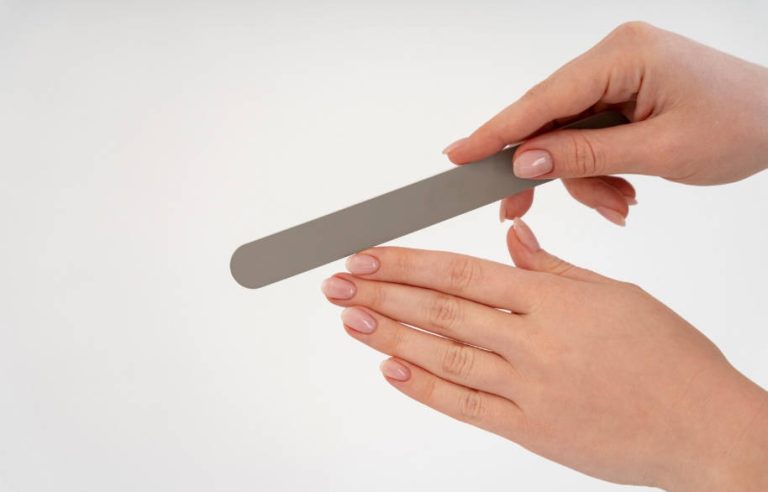
Preparing Your Nails Before Buffing
Cleaning and Drying the Nails Properly
Start by washing hands with soap and water. Remove dirt, oil, and old color. Dry well. This lets the buffer work without sliding.
Trimming and Shaping the Nails
Use a clipper to cut nails to the length you like. Then file to shape them even. A good shape gives steady buff results.
Checking for Nail Health Issues
Look at nails for fungus, breaks, or bad peeling. Buffing bad nails can make things worse. If you see issues, talk to a skin doctor first.
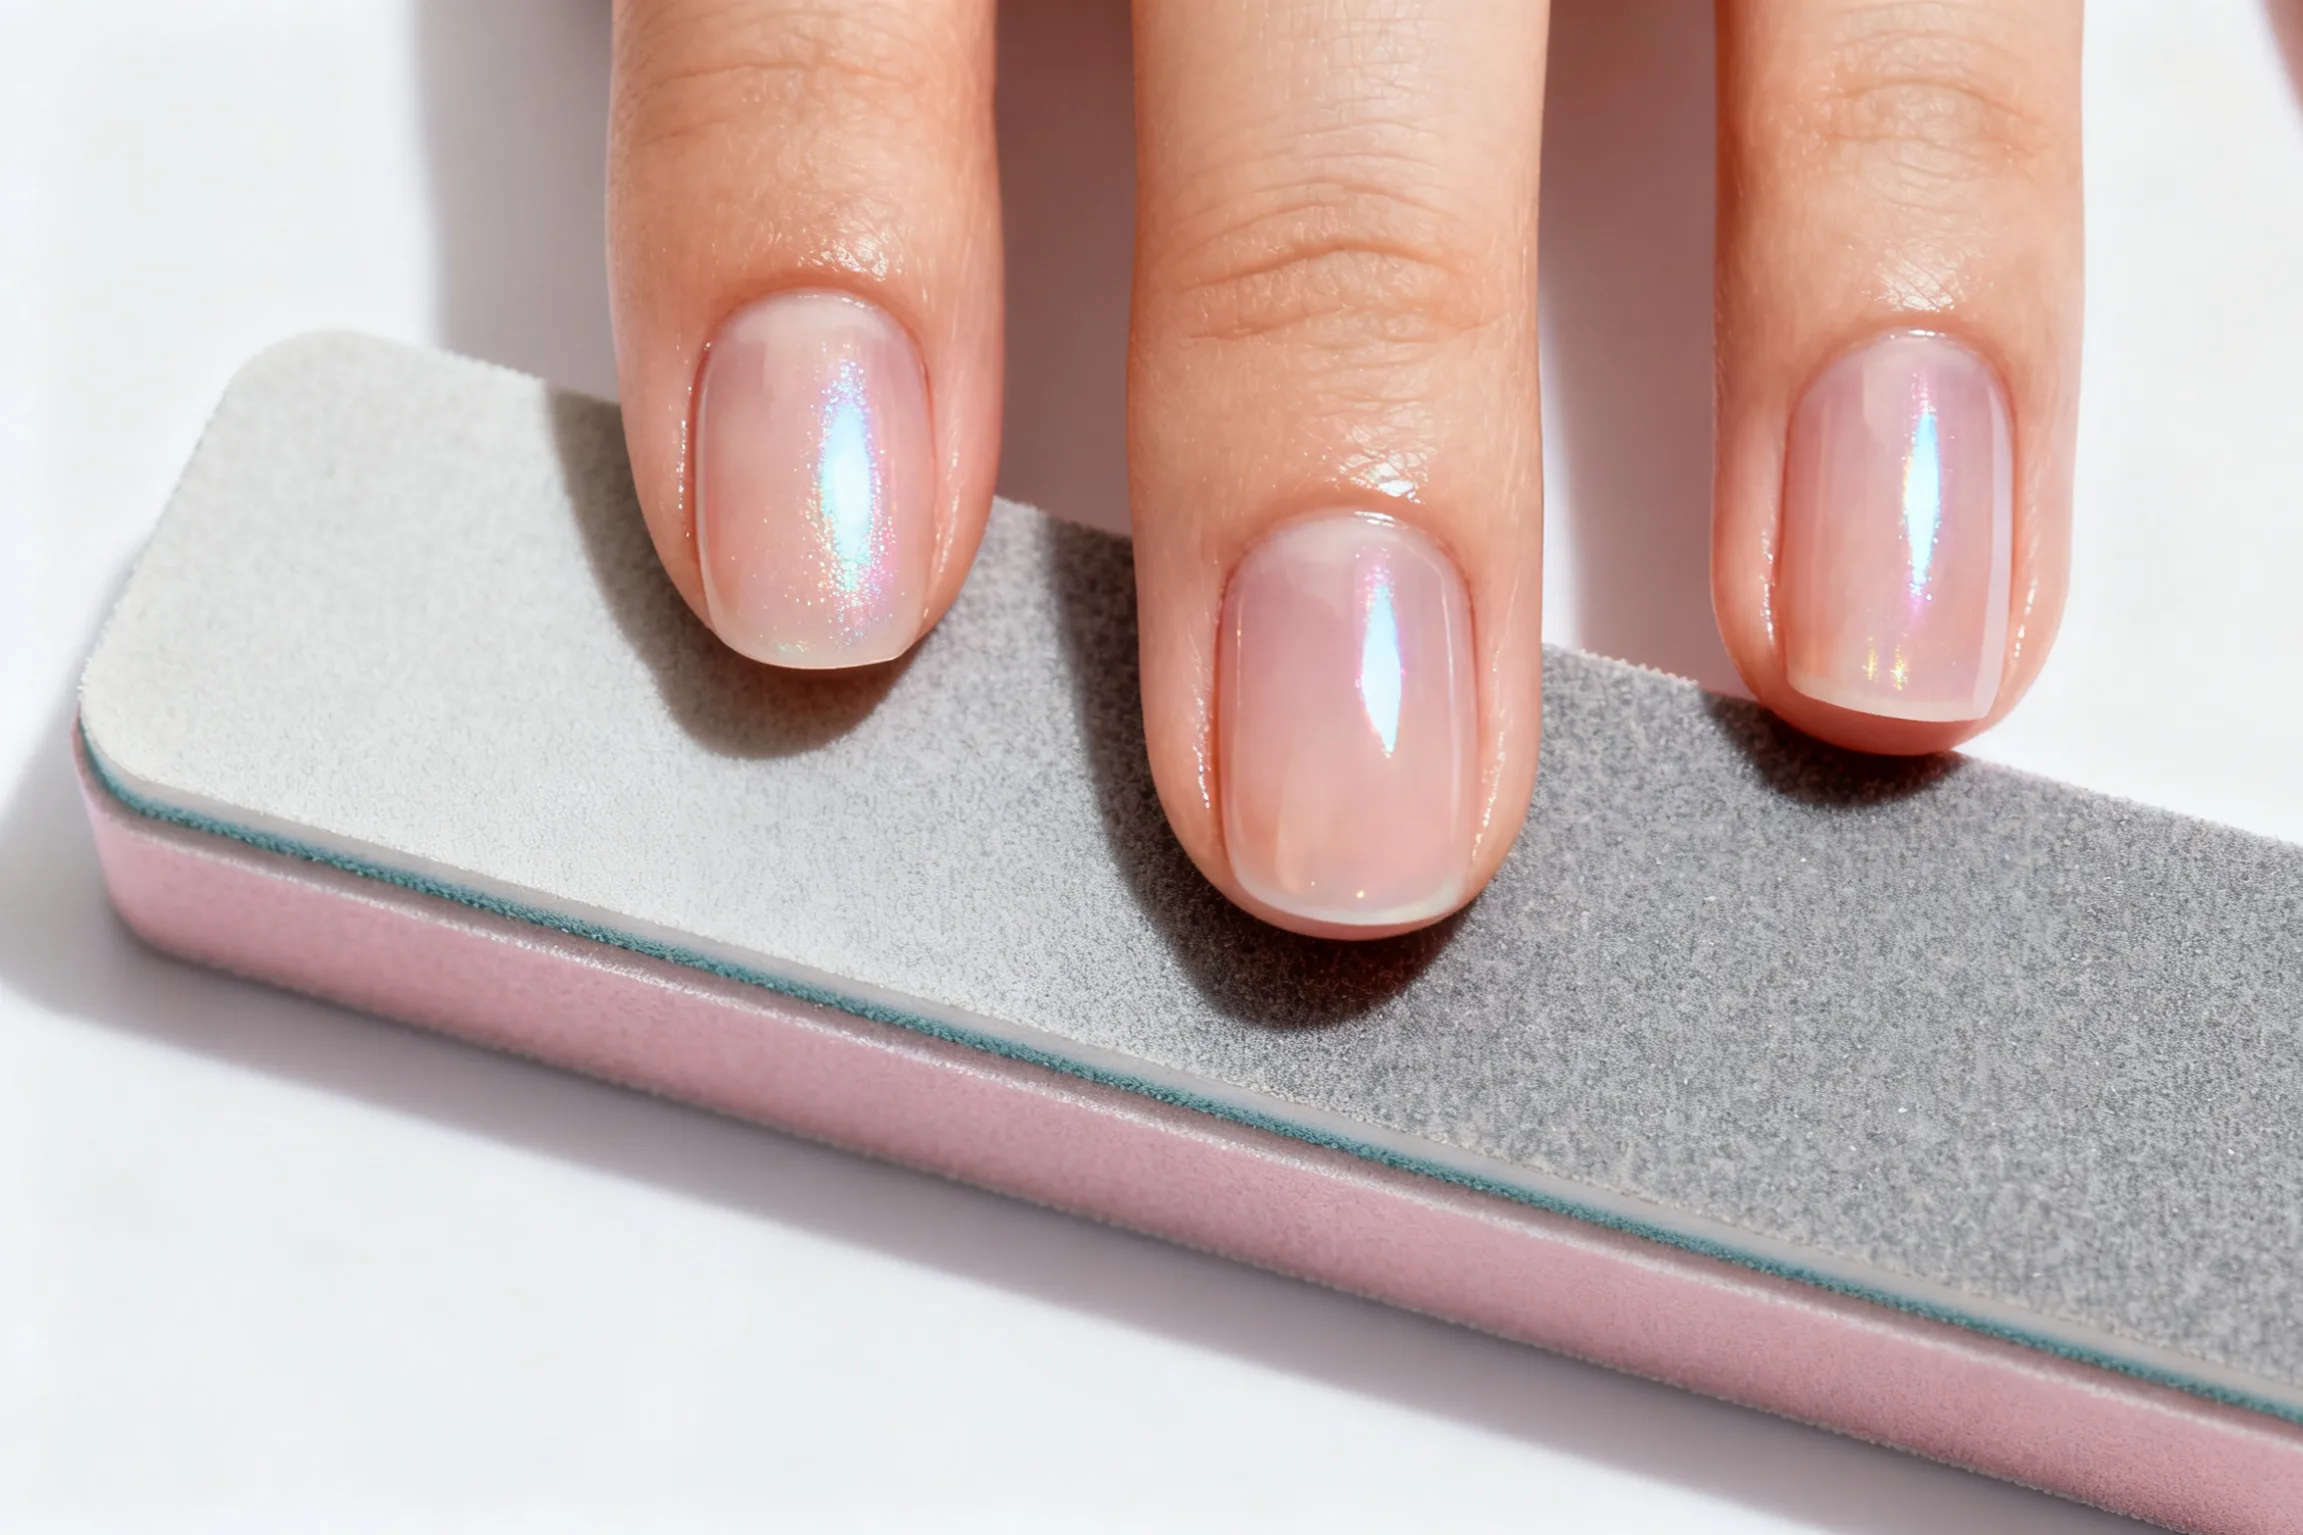
Step-by-Step Guide to Using a Nail Buffer Block
Step 1: Start with the Coarsest Side
Find the side with the roughest feel. It is often marked or looks grainy. Rub it lightly over each nail in one way. This removes bumps and fixes flaws. Don’t do too much. 3-5 strokes per nail is enough.
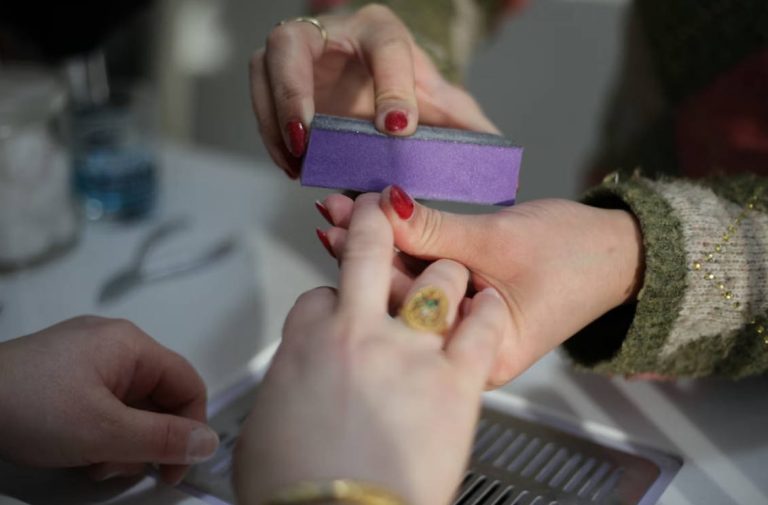
Step 2: Use the Medium-Grit Side for Refinement
Change to the medium-rough side. It is smoother than the first. This step fixes the nail top more. It removes marks from the rough side. Buff with light touch in soft circles.
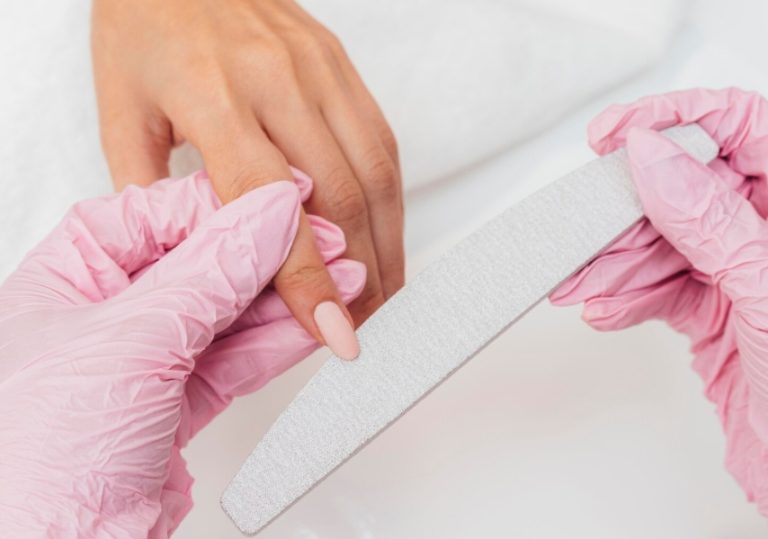
Step 3: Polish with the Fine-Grit Side
Now use the fine-rough side to shine nails. This smooths tiny scratches. It preps for the last shine. Keep a soft touch. This avoids thinning the nail.
Step 4: Finish with the Shine Surface
The last side is super smooth. It is made to give glass-like shine. Slide it over each nail. Keep going until you see the glossy look. This step turns natural nails into perfect shine.
Tips for Effective and Safe Nail Buffing
How Often Should You Buff Your Nails?
To keep nails healthy and shiny, buff once every two weeks. Too much buffing services can make nails thin and weak. They break easy.
Avoiding Over-Buffing and Damage to Nail Beds
Too much pressure or often buffing can hurt the nail base. Always use light pressure. Skip buffing sore or hurt spots.
Maintaining Hygiene with Your Buffer Block
Buffers need care like makeup brushes or files. Clean your buffer block often with soap and warm water. Then air dry. Felice offers washable buffer blocks made of durable materials like high elastic sponge and emery, ensuring long-term usability and hygiene.
If you want top quality, custom nail buffer blocks that mix work with nice looks, pick Felice. It is a pro nail art firm. It gives one-stop shopping for all nail beauty items like gel polish, nail lamp, nail drill, and nail decorations. All products can be designed and produced as customer request; pre-production sample is always available for quality check before bulk order. From salon stock to home care, Felice backs OEM/ODM services and low MOQ custom. You can have your own brand pro tools. Get pro care at home. Buy your Felice nail buffer block now.
FAQ
Q: Can I learn how to use a nail buffer block on acrylic or gel extensions without causing lifting?
A: Yes, focus on the top surface only with the finest two sides of the block. Avoid edges and cuticles to prevent sealing issues; always buff in short, feather-light strokes after the coating has fully cured.
Q: Is it possible to figure out how to use a nail buffer block if the grit numbers are worn off?
A: Test each side on a spare plastic card first—the roughest will leave visible scratches, while the smoothest will produce a glossy streak. Mark the sides with a permanent marker for future reference.
Q: How do I know how to use a nail buffer block when traveling with only carry-on luggage?
A: Choose a mini 2-sided buffer under 3 inches long (TSA-compliant). Wrap it in a clean tissue inside a small zip pouch to keep it sanitary and prevent grit transfer to other items.
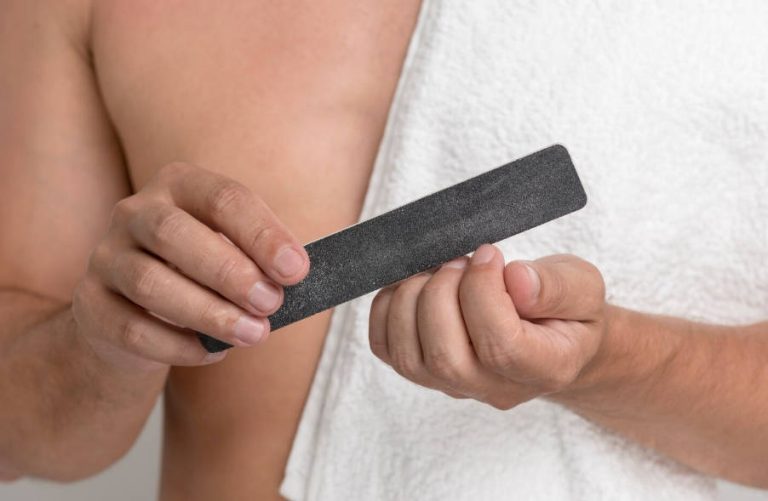
Q: What’s the best way to understand how to use a nail buffer block on men’s thicker nails?
A: Begin with a 100# side for 2–3 strokes max, then skip directly to the shine side. Men’s nails tolerate less frequent buffing—once a month maintains a natural matte-to-satin look without thinning.