Filing your nails looks simple, but doing it incorrectly can cause problems. It might lead to splits. Your nails could weaken. You might end up with uneven shapes. Knowing the right way to file is essential. Using the correct side of an emery board is important. This lets you achieve a professional finish at home.

Understanding the Emery Board
What Is an Emery Board?
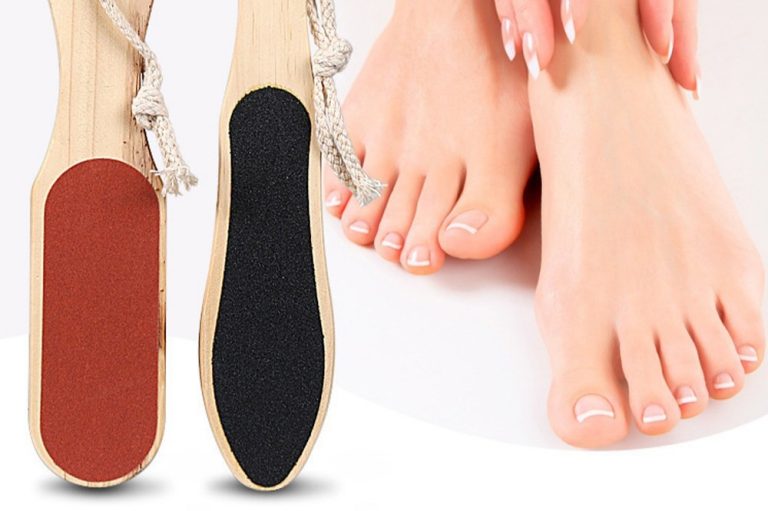
An emery board nail file is a nail file made of cardboard or plastic coated with emery, an abrasive material for shaping and smoothing nails. It usually has two sides: one rough and one smooth. High-quality custom logo white nail files and emery boards are popular in salons for their strength and effectiveness.
Differences Between Rough and Smooth Sides
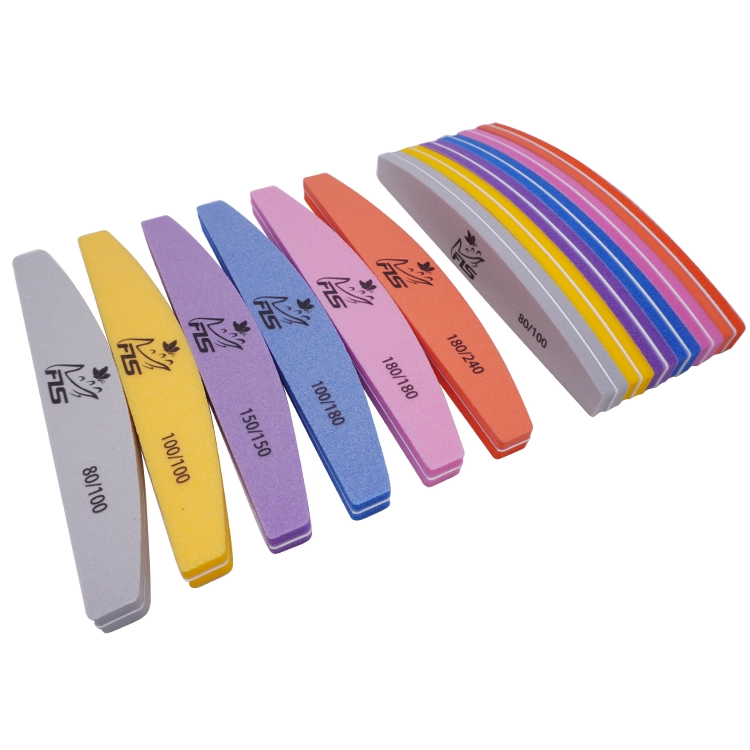
The coarse side uses a lower number grit. Think 80 or 100. It’s tougher stuff. Ideal for heavy-duty filing work.
The polished side uses a higher number grit. Like 180 or 240. It’s much gentler. Perfect for that final smoothing.
Custom logo zebra grey nail files come in paired grits. You’ll find options like 100/180 or 180/240. Choose what works best for your nails.
When to Use Each Side
Choosing the right side keeps nails healthy. Use the rough side for shaping thick or artificial nails. The smooth side works best for refining shapes and smoothing edges on natural or thin nails.
Preparing Your Nails
Cleaning and Drying Your Nails
Wash your hands with soap and water. Use a nail brush to clean under the nails. Dry your hands fully with a towel. Wet nails can weaken during filing.
Trimming Nails to a Suitable Length
If your nails are too long, trim them with clippers. This reduces pressure while filing. It also helps you control the shape better.
Soaking Hands to Soften Cuticles
Soak your hands in warm water for about five minutes. This softens the skin around your nails. It makes pushing back cuticles easier without harm.
Tools You Need to Prepare
| Tool | Description |
|---|---|
| Emery Board (Dual-Sided) | A dual-sided emery board is essential for both shaping and finishing. It offers both coarse and fine grits in one tool. Professional quality custom options are available. |
| Nail Clippers | Used to trim overly long nails before filing them into shape. |
| Cuticle Pusher | Helps to gently push back cuticles after softening them with warm water. |
| Nail Brush | A soft-bristled brush that removes dirt from under the nails and cleans debris from the surface. |
| Bowl of Warm Water | Soaking your hands in warm water softens the skin around the nails and cuticles, making them easier to manage. |
| Hand Towel | A clean towel is necessary to dry your hands thoroughly before filing begins. |
Step-by-Step Guide to Filing Nails
Choosing the Right Side Based on Nail Type
Rough Side for Thick or Artificial Nails
For acrylics or thick nails, start with the rough side of an emery board, like a zebra grey sandpaper sponge nail file. It shapes quickly without too much force.
Smooth Side for Natural or Thin Nails
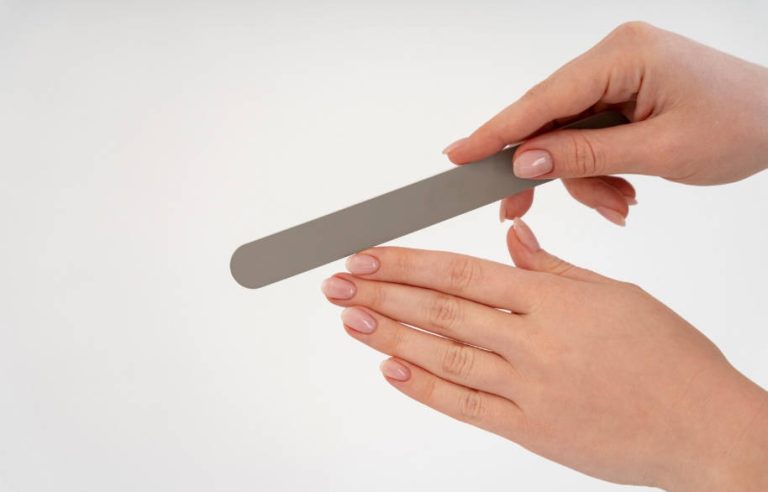
For natural or delicate nails, use a smooth grit, like 180/240, found in custom logo white nail files. This creates smooth edges without splits or cracks.
Holding the Emery Board Correctly
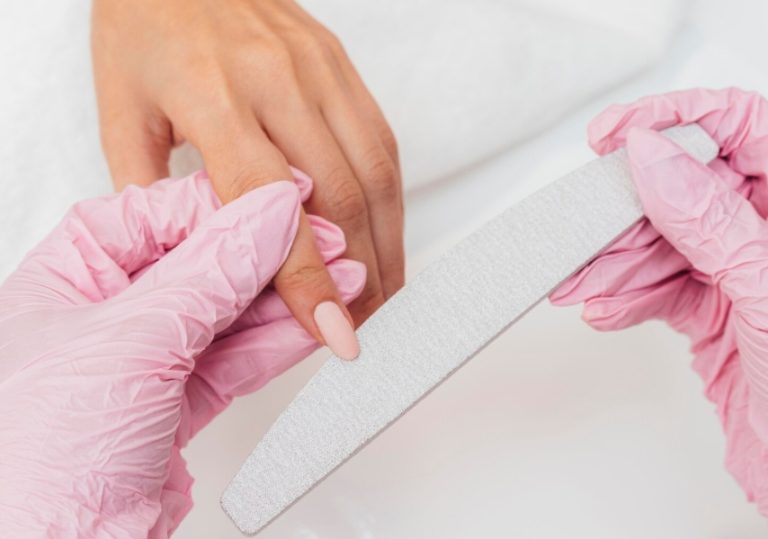
Hold the emery board at a 45-degree angle. Follow your nail’s natural curve. Don’t place it flat against the tip. That can cause uneven wear or breakage.
Filing in One Direction
File in one direction only. Avoid a back-and-forth motion. This prevents nail layers from splitting. It reduces peeling or breaking over time.
Shaping Tips for Different Nail Shapes
- Square: File straight across with sharp corners.
- Round: Follow your fingertip’s curve.
- Oval: Soften square edges into rounded tips.
- Almond: Taper sides to a rounded point.
- Stiletto: File to a sharp point (best for artificial nails).
Tools like custom logo sponge nail file buffers help achieve precise shapes.
Aftercare for Filed Nails
Buffing and Polishing for a Smooth Look
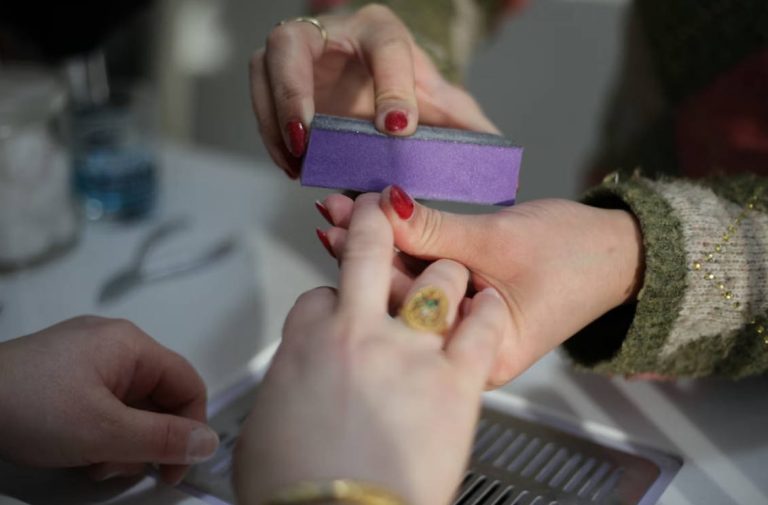
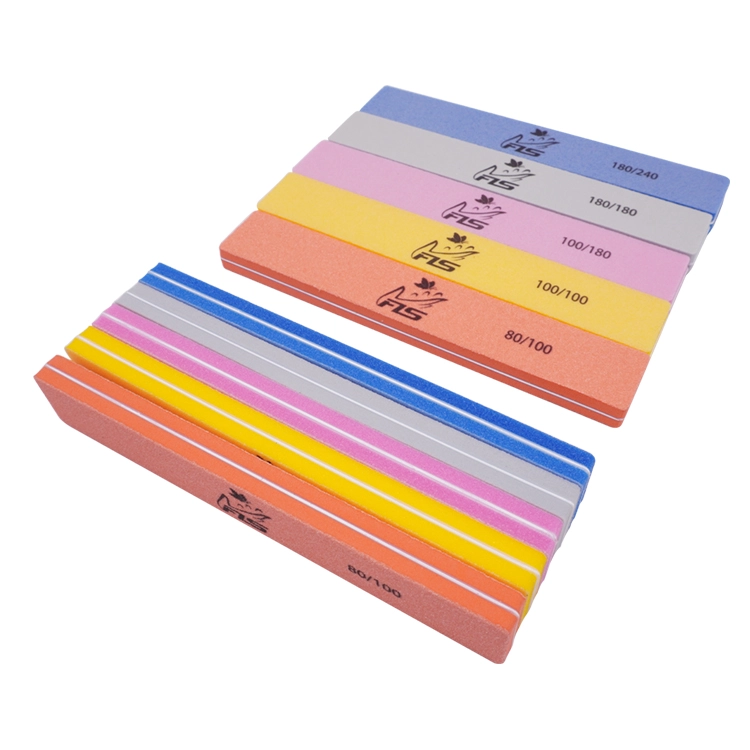
After shaping, use a buffer block, like a coarse 3-way nail buffer block, to smooth ridges on the nail surface. Buffing adds natural shine without polish.
Moisturizing Hands and Cuticles
Apply hand cream or cuticle oil after filing. Hydrated skin promotes healthy nail growth. It also prevents hangnails or cracks around fingertips.
Common Mistakes to Avoid
Over-Filing and Weakening Nails
Filing too much weakens nails. Stick to small adjustments. Avoid aggressive reshaping every few days.
Using the Wrong Grit for Your Nails
Picking the wrong grit can harm nails. For example, using a coarse mini black nail buffer block on thin natural nails may cause tearing instead of smoothing.
Mastering nail filing starts with knowing which side of the emery board to use for your needs. Whether you’re keeping natural nails neat or refining artificial ones, quality tools matter. At Felice, we offer a wide range of high-quality dual-sided emery boards for everyone—from home users to salon pros. Our one-stop shopping saves time and costs. You can find all kinds of nail beauty products at Felice. Explore our collection today and improve your manicure routine with confidence!
FAQ
Q: How often should I get a new nail file?
A: Swap out your nail file every 3 to 6 months. It depends on how much you use it. If the gritty side feels smooth or worn down, grab a fresh one. A dull file can rip your nails instead of shaping them nicely.
Q: Is it okay to let others use my nail file?
A: Better not share your nail file. It helps stop germs from spreading. If you absolutely have to share it, clean the file with rubbing alcohol first. Let it dry totally before anyone uses it. Sharing files feels a bit yuck anyway!
Q: How can I tell a good nail file from a bad one?
A: A top-notch nail file has a few key things. First, the rough grit should be spread out evenly. Second, the base needs to be strong. Third, it shouldn’t fall apart or peel after just a few uses. When you’re buying one, feel it for a consistent texture. Also, look for clear grit numbers on the label, like 100/180.